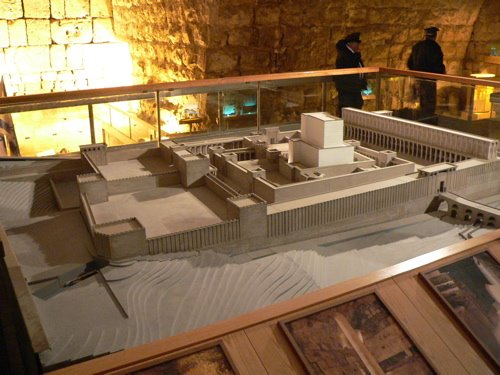
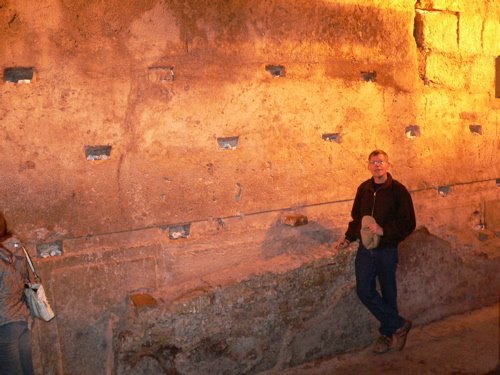
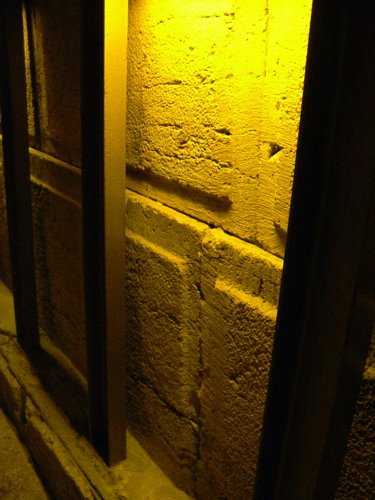
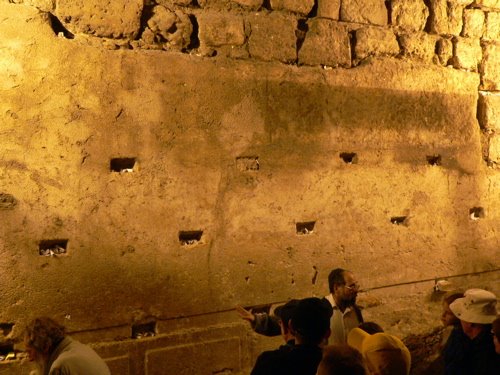
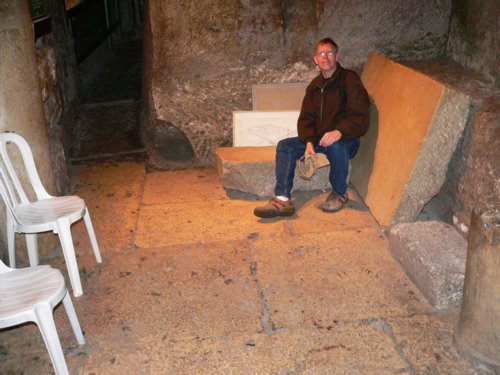
Photos: 1: model of the Temple Mount at the time of Jesus - we walked north (to the left) from the bridge and archway you see on the right of the photo, along the lowest part of the wall! 2-3: the huge “Herod Stone” in the wall, one with our tour guide below it and one with me next to it--the picture doesn’t do justice to the incredible size! 4: close-up of the carved stones of Herod’s wall; notice how the upper row of stones is indented from the row below--exactly 2 centimeters. Herod did this all the way up the wall, all around the Temple Mount, so it wouldn’t appear that the wall was leaning out! 5: me on the shopping street along the western wall, underground at this point.
posted by djohnson @ 9:38 AM
![]()
![]()


0 Comments:
Post a Comment
<< Home